Table of Contents
OpenTrack
The OpenTrack is an open-source modular high altitude balloon tracking and sensor data acquisition platform. OpenTrack can be used as a low-cost single-board tracking solution or a robust mesh network of airborne sensors. The system is modular both in hardware and software, allowing for a variety of uses. OpenTrack is released under the GNU Affero General Public License.
Project Overview
Project Resources
- Bug tracker - View and file bugs against project
- Hardware repository - View and download hardware design files
- Firmware repository - View and download firmware source code
- UI repository - View and download desktop app source code
User Guides
Questions? If you have any questions regarding this project, feel free to email me.
System Overview
Master
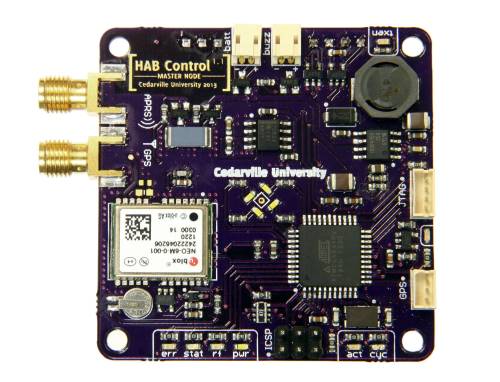
The master motherboard is the heart of the OpenTrack system. This board includes core features which are essential for high-altitude balloon tracking:
- Onboard NEO-6M GPS module with battery backup, EEPROM, and SMA antenna connector
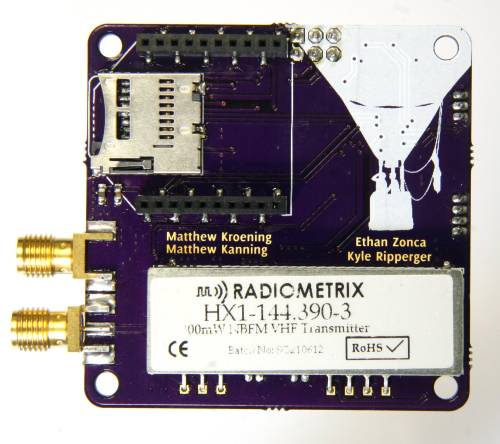
- Onboard HX1 300mW 144.39MHz (APRS) Transmitter with SMA antenna connector
- (Optional) MicroSD card slot for logging
- (Optional) Headers for XBee radio for slave communication
The master PCB also includes:
- Onboard resistive heater
- Onboard PCB temperature sensor
- 3.3v and 5v regulators
- 12 indicator LEDs
- ICSP and JTAG connectors
- GPS programming connector
- Auxiliary buzzer connector
Indicator LEDs
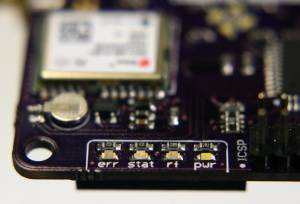
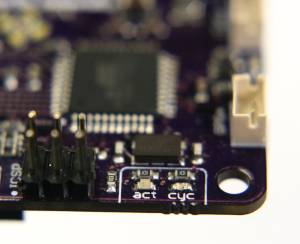
The master PCB includes 12 status LEDs to indicate the system's current state. The functionality of each LED is described below.
There are 4 white indicator LEDs in the middle of the board. These LEDs show a “spin” animation when the board is operating properly.
- err (Red): Flashes code and remains on when an error occurs
- stat (Blue): Illuminated when the board heater is on
- rf (Green): XBee status indicator (flashes when XBee attached)
- pwr (White): Flashes to indicate the master is running
- act (Amber): Flashes when the GPS module sends an NMEA sentence
- cyc (Blue): Flashes when a message is being logged to the SD card
Slave Motherboards
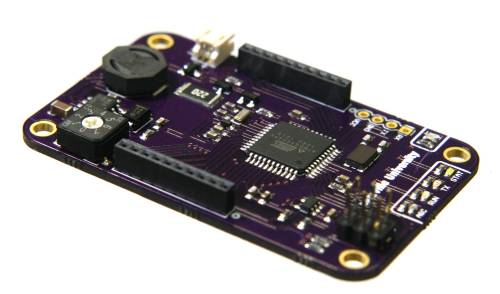
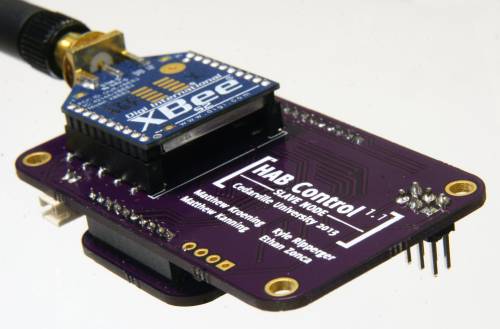
The Slave Motherboard is the data collection platform of the system. By working in conjunction with the sensors on a daughterboard, the slave motherboard collects and conditions data before sending it back to the master module wirelessly. Up to 6 motherboards can be used on one balloon, which allows the deployment of numerous sensor arrays. By default, all slave motherboards return the board temperature and battery level to the master regardless of the connected daughterboard. If a daughterboard is inserted, the slave will transmit sensor readings from the daughterboard in addition to these default readings.
To keep modules at a safe temperature, a resistive heater on the slave motherboard turns on when the board temperature falls below a set threshold (0 Celsius by default). This threshold is configurable in the slave firmware's config.h file.
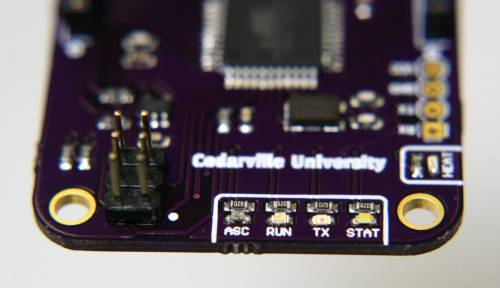
The slave motherboard includes several indicator LEDs to display the firmware's current status:
The following details the statuses indicated by each LED
- ASC - Amber - Associated - Blinks when connected to the Xbee radio
- RUN - Blue - Run Loop - Blinks when module functions are executed
- TX - Green - Transmission - Turns on when recovering from Watchdog Reset (WDR) (note that the TX label is incorrect)
- STAT - White - Status - Blinks when data request from master is received
- HEAT - Red - Heater - Turns on when heater is turned on
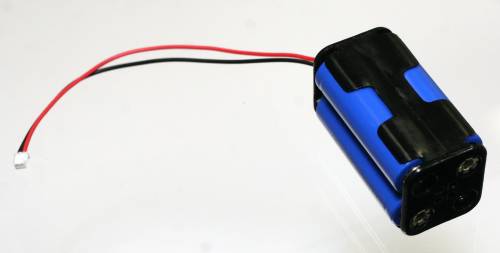
The slave motherboards require a 5 to 12 volt power source to operate properly. Due to the extremely low temperatures at high altitudes, lithium batteries are recommended. Power should be applied to the port labeled “BATT.” The polarity of the battery port is marked, but the motherboards include reverse-voltage protection if voltage is accidentally applied backwards.
To communicate with the master, each slave motherboard needs an XBee ZB (Series 2) radio. Each radio must be properly configured as outlined in the OpenTrack XBee Configuration. Install the XBee radio on the bottom of each slave motherboard.
Daughterboards
Daughterboards plug directly into slave motherboards with two headers. To attach a daughterboard, line up the dots at the end of the header row with the dots on the motherboard. Once attached and powered on, no additional configuration is required: motherboards automatically determine which slave is plugged in.
To acquire sensor data, you may use one of our pre-designed daughterboards or design your own. For instructions on designing your own daughterboard or integrating custom auxiliary sensors into this system, reference the Module Development Guide.
Geiger Counter
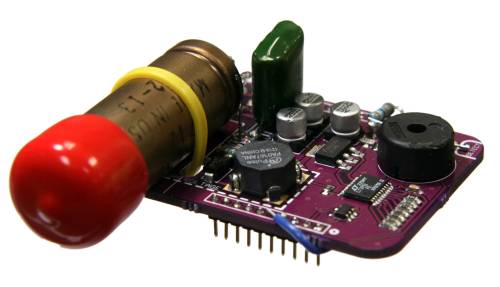
The Geiger counter daughter board uses a Geiger–Müller tube to measure radiation levels in CPM (Counts Per Minute.) The counts received from the daugterboard are placed into a 60 second moving average filter to smooth out random fluctuations. Because the system uses a moving average, the CPM reading must take 60 seconds to settle after starting up or experiencing a large shift in radiation. The Geiger tube requires a high voltage to operate, therefore it is important not to touch anode of the tube or any area inside the dashed line labeled “High Voltage.”
Atmospheric Sensors
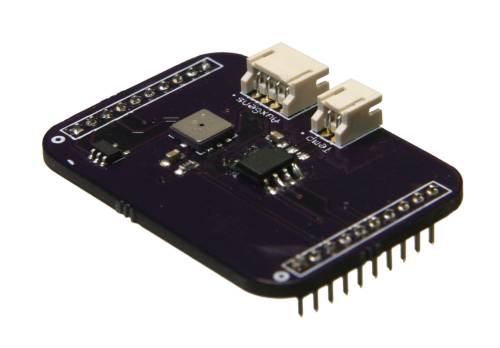
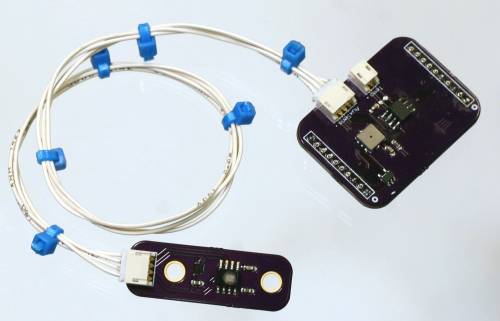
The atmospheric sensors daughterboard has several sensors on board to measure conditions such as barometric pressure, ambient light, humidity, and temperature. The main board has the pressure sensor which measures pressure in kPa. The pressure sensor is also used to calculate the altitude in feet.
The humidity and ambient light sensors are on an auxiliary board that attaches though the “AuxSens” port. Humidity is measured as a relative percentage from 0 to 100. Ambient light is measured in lux and represents the brightness of ambient light hitting the sensor. For the temperature sensor to operate a thermocouple is required to be attached on the “Temp” port.
Camera Control and Accelerometer
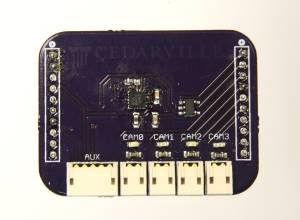
The camera control board provides output for 4 camera remote shutters, and also provides an auxiliary port for development of stand-alone sensors without creating a custom daughterboard. The auxiliary port exposes the i2c port and an I/O pin. For more information about auxiliary sensors, refer to the Module Development Guide.
The camera control board triggers the shutter of attached cameras every 30 seconds. By default, this pulse lasts for 400 milliseconds, but this value can be changed in the slave's config.h file:
#define CAMERA_FREQ 30000		// Camera pulse frequency (Should be 30000 for 30 Secs)
#define CAMERA_PULSE 400 		// Camera pulse duration
The cameras are programmed using the Canon Hackers Development Kit (CHDK). If the cameras receive a pulse from between 100 and 600 milliseconds on their USB power pins, they take a picture. If the pulse lasts longer than 600ms, they begin taking a video and continue until receiving a similar pulse. If no pulse is detected, they will take a picture approximately every two minutes as a failsafe.
The camera control board includes the MMA8452Q 3-axis 8-bit accelerometer. The current code does not support the use of this chip, but support may be added in the future. The accelerometer could allow for interesting new features, such as only taking pictures when acceleration falls below a certain level. The accelerometer also features a freefall mode, which can inform the master module that the balloon has popped and the system is descending.
