Table of Contents
OpenTrack XBee Configuration
Preparing X-CTU
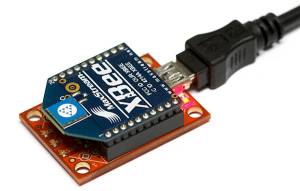
To configure your XBee modules you will need an XBee to USB adapter and the XBee module(s) you wish to configure.
First, install X-CTU from the Digi website. Download the installer from the link below and run the installer. No special options are needed during installation. Download: X-CTU Installer
Next, plug the XBee you want to configure into the XBee to USB adapter and connect the adapter to your computer. Windows will install a driver for a USB to Serial adapter that is on this board.
Finally, launch the X-CTU program. Select the COM port of the radio the first tab (which should be the only COM port aside from COM1), and select a baud rate of 9600 if this radio has not yet been configured. If you are reconfiguring this radio, select 115200 baud.
Click on the modem configuration tab and press “read” which will load settings from your radio. If reading fails, make sure your radio is properly seated and that you have selected the proper COM port. If the radio still does not work, consult the user manual of the radio you ordered to determine the default baud rate of the radio (older radios may have different default baud rates).
Configuring the Radio
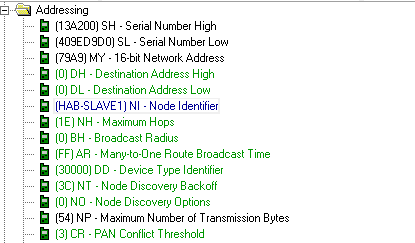
Make sure you are on the configuration tab of X-CTU. Scroll down to the “Addressing” section.
Click on the line labeled “Node Identifier” and then click the “set” button. You may now specify a name for this radio module. This name will prepend each column in the master module's CSV log that corresponds to sensors on this radio's slave daughterboard.
Scroll down to the “Serial Interfacing” section and change the baud rate to 115,200.
Finally, scroll down to “AT Command Options” and set “Guard Time” to 2.
To save these settings to the radio, press the “Write” button at the top of X-CTU.
Your modem is now configured and is ready for use!
Photo credit: SparkFun Electronics


