The Eagle schematic for ZonCoffee is included after the break. Note that this schematic still has a few quirks, but it should be accurate to the best of my knowledge. I will post the Eagle project once the design is finalized.
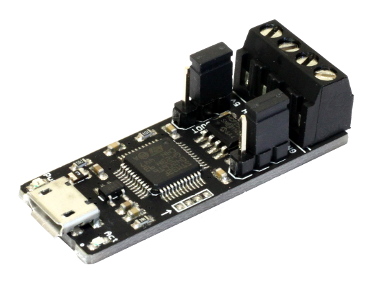
CANable
USB to CANbus Adapter
A small open-source USB to CAN adapter with cross-platform compatibility and an easy-to-use Python library. Now only $30!
Now available from the Openlight Labs store
2011
ZonCoffee .2 Released
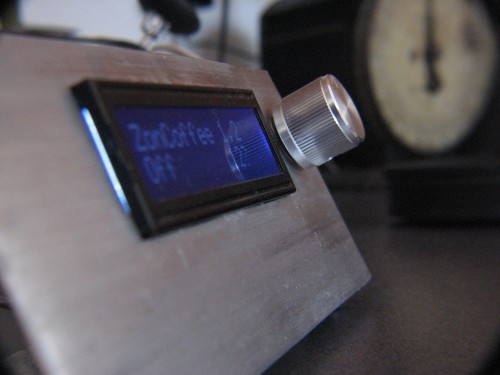
ZonCoffee is a full-featured PID controller package for Arduino, customized for use with espresso machines. ZonCoffee is written in Processing/Wiring, and includes some code from Tim Hirzel‘s BBCC project.
2010
DIY CNC Progress
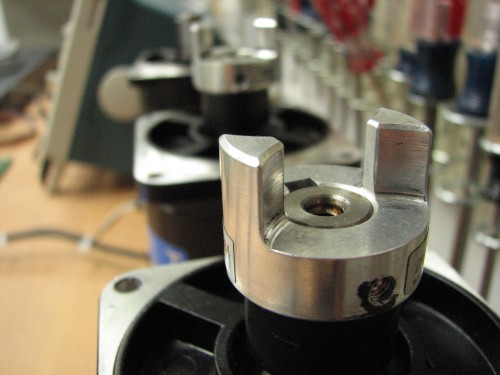
Since my last post, I have completed my junction box and I have prepared 3 motor/speed controller assemblies. I have acquired a second leadscrew to use for my Y-axis, and the electronic portion of the construction (except for limit switches) is complete. Now I can focus on the physical construction of the machine.
Update [6/12/11]: I now have all 3 motors up and running with leadscrews, and parts for both an X and Y linear bearing setup (pillow block on precision ground rod for Y axis, heavy-duty precision angle iron and captive rollers for X-axis). The Z-axis is still up in the air for now. I’ll post more information about materials in the near future.
2010
Converting .MTS video files into .mp4 files
I have a Canon HF200 video camera and it outputs HD video, but it’s in .MTS file format. This is a pain because there are no good free video converters or editors for .MTS files. But using Avidemux, an open-source video converter, I was able to edit and convert my video to .mp4 while keeping my sanity and my money.
2010
Initial DIY CNC Prototyping
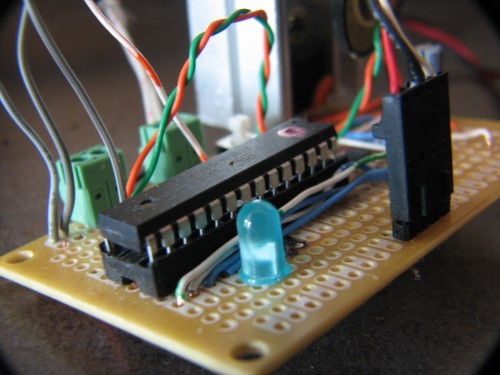
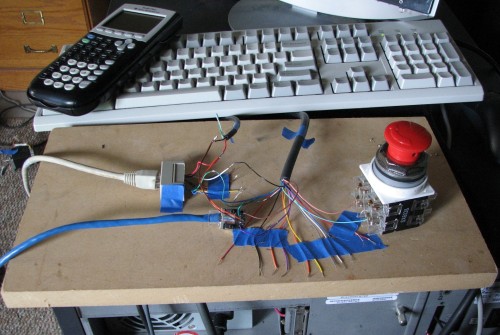
I’ve started constructing the basic electronics for the CNC machine I’m working on. It’s going to be a cheap machine made with what I have on hand, so accuracy won’t be great, but it should be an interesting experience. The leadscrews I’m using are less than optimal, requiring much software backlash compensation, but should work well enough for basic CNC work. Some early build photos are included below.
2010
EC155 PID with Arduino
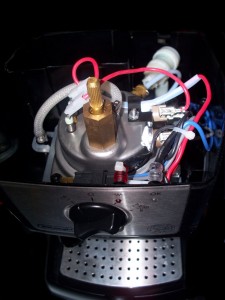
This is a build log of my PID modification to my DeLonghi EC155 espresso machine. Currently, the machine uses an Arduino to drive a solid-state relay controlling the heating coil. The Arduino displays mode and temperature on a serial lcd, and also dumps status information over the serial port.
Update 1: I’ve ordered parts for a permanent install on protoboard, after I finish the install, I’ll update this post with build instructions and details. I will also provide a link to a mouser project where you can order most of the parts in one place.
Update 3: Everything is assembled and functional, and I made an aluminum case thing for the LCD and rotary encoder. Photos to come soon. (8/25/10)
Update 4: ZonCoffee .2 is released! See the release page to download the sketch and to see additional hardware information. (1/4/11)
This post is one of a series of posts regarding mods I have done to my EC155
2010
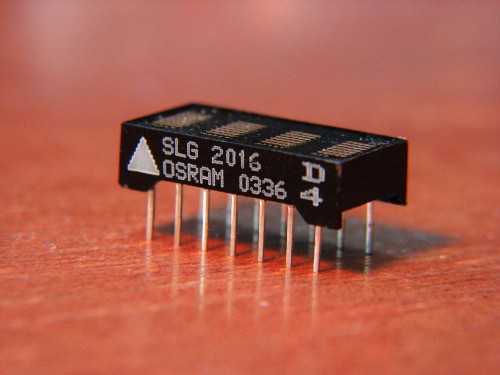
The OSRAM SLG2016 and AVR
I happened to scavenge a couple of SLG2016’s from some old workstation debug displays. After finally locating a datasheet, I realized that they used the standard ASCII charset, so they are extremely easy to drive. Note: The SLG2016 differs from the SLR2016, SLO2016, and SLY2016 only by LED color.
2010
DIY High-Quality Block Printing
Ever wanted to cover your wall with a nice high-resolution DIY poster? With a little bit of effort and a lot of paper, you can make a high-quality block-printed poster with free, open-source software. This method produces a nice smooth result, without using small dots like other block-printing preprocessing methods.
Read more »
2010
Macro video and photos with the S3 IS
With a couple bucks worth of cheap macro filters, you can get great macro video and photos with the Canon S3 IS (works with the S1 or S5 IS as well). All you need is a lens adapter that fits all of the canon S* IS models and a set of dirt-cheap filters.
2010
JavaScript “Current Filename” Function
I found the need to get the current filename, without the file extension, of a webpage using javascript. I thought there would be an easy way with jQuery, but I found a good way to do it in plain javascript. I made a quick function to take care of this task that might save you some time, the compressed version is shown below. I’ll add a more human-readable version in the near future.This code is very unreadable! Please don’t use it blindly, as it may not work in all cases.
function getCurrentFile() {
  var filename = document.location.href;
  var tail = (filename.indexOf(".", (filename.indexOf(".org")+1)) == -1) ? filename.length : filename.lastIndexOf(".");
  return (filename.lastIndexOf("/") >= (filename.length - 1)) ? (filename.substring( filename.substring(0, filename.length - 2).lastIndexOf("/")+1, filename.lastIndexOf("/"))).toLowerCase() : (filename.substring(filename.lastIndexOf("/")+1, tail)).toLowerCase();
}
This function returns the current filename (minus the file extension) in all lower-case. Feel free to modify it to suit your needs. It also works properly even when a URL does not have a file extension (such as with some asp-based sites), or when there is no filename present (returns the folder name). This function is great for highlighting menu items based on which page the user is currently browsing. If you don’t understand some of the syntax, note that I’m using javascript’s conditional syntax as shorthand for if/else statements.

