After making the switch from AVR to STM32 microcontrollers, I redesigned my old 6-pin ICSP pogo-programming adapter for SWD. The new design allows programming with pogo pins or a small pin header soldered to the pogo pads for debugging, all with the same cable. The footprint uses surface mount pads only, so it can be placed on even the most compact board layouts.
The ST-link adapter
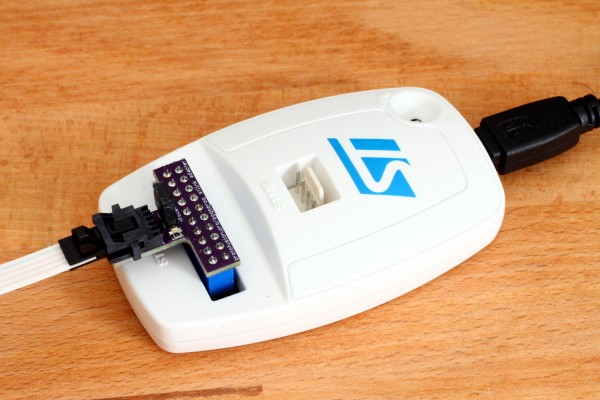
I designed a small PCB which mounts directly on top of an st-link programming pod. The board has an LED that lights up when the target is powered, and also has a jumper that powers the target from the st-link’s onboard regulator. This feature is great when mass pogo-programming low-power PCBs.
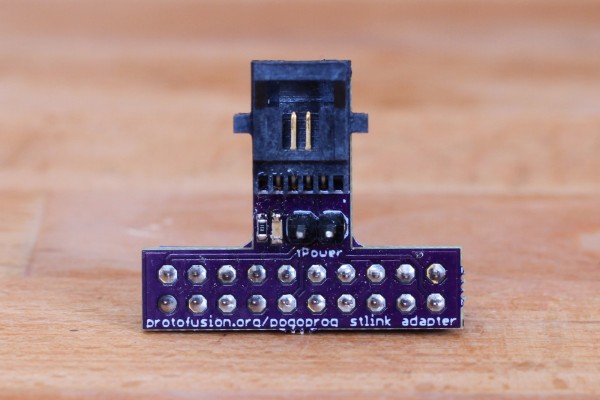
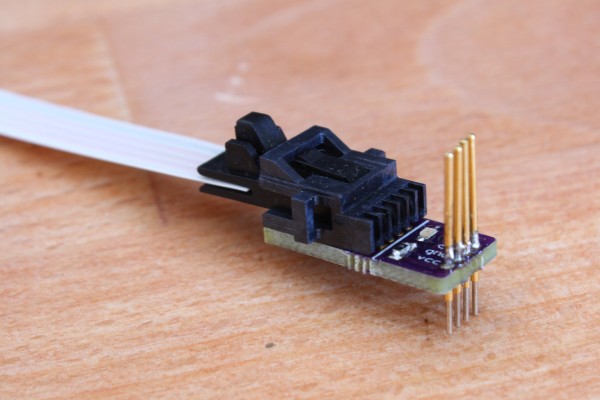
The board also has a 0.05″ pitch ribbon cable connector. This connector is quite rugged and easy to use, and has the same pitch as the programming footprint that it interfaces with. Premade cables are available from Digikey for a fairly reasonable price.
PCB Footprint and Header
The PCB footprint is nearly the same as my old 6-pin footprint, but without any vias for alignment. This footprint could easily be modified to use vias to align the pogo pins, but I find that aligning 4 pins is quite easy even without alignment features. The footprint is small enough to fit on pretty much any design, and should optimally be placed on the edge of the board so a pin header can be soldered on, if desired.
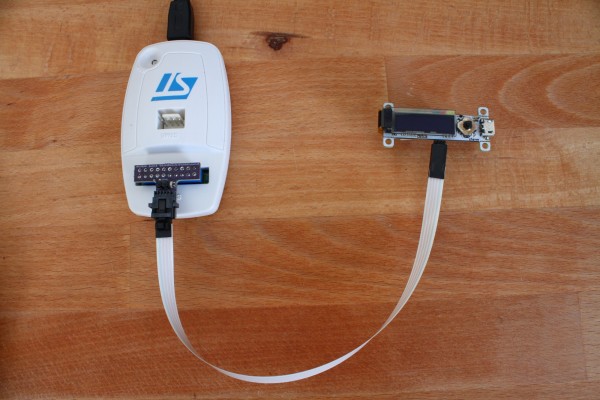
One of the best features of this footprint is that you can solder on a 0.05″ pitch header along the edge of the board. The ribbon cable from the programmer can plug right into this connector without any adapter. This is great for debugging on the bench when you don’t want to solder wires directly to the pads or hold a pogo programmer in exactly the right position for extended periods of time.
Pogo Programming Adapter
The pogo programming adapter is a very simple board, with only a ribbon cable connector, an LED, and pogo pin mounting holes. Inserting and aligning the 4 pogo pins is quite easy as opposed to the 6 and 8 pin versions I used previously. When connecting to a powered target, the LED is a nice indicator that at least two of the pogo pins are making good contact with the board.
Source Files
Hardware source files and a BOM are linked in the downloads below. Generated gerbers are included so you can easily fab your own boards. Feel free to leave a comment if you have any questions!
Downloads
- ProtoProg Hardware [zip]
![[protofusion]](http://protofusion.org/wordpress/wp-content/uploads/2013/02/protofusion-text2.png)
Nicely done! I’ve been a happy user of the TagConnect programming adapters – they make a version with molded plastic “legs” that snap into retention holes to allow extended debugging sessions.
http://www.tag-connect.com/
I like the cost of your solution better, though 🙂 I suspect a plastic retention clip could be 3d printed pretty easily, too.
I’ve been thinking about making some sort of spring-loaded 3d printed clip, but haven’t gotten around to it… maybe one of these days!