
Since my last post, I have completed my junction box and I have prepared 3 motor/speed controller assemblies. I have acquired a second leadscrew to use for my Y-axis, and the electronic portion of the construction (except for limit switches) is complete. Now I can focus on the physical construction of the machine.
Update [6/12/11]: I now have all 3 motors up and running with leadscrews, and parts for both an X and Y linear bearing setup (pillow block on precision ground rod for Y axis, heavy-duty precision angle iron and captive rollers for X-axis). The Z-axis is still up in the air for now. I’ll post more information about materials in the near future.
Junction Box
The junction box is made from a stripped Cisco router, which acts as a great enclosure with integrated 5v/12v switching power supply. The integrated supply means I don’t need a USB connector to grab power from the controlling computer for powering encoders and other circuitry, which is quite convenient.

Junction box - 2 parallel in, 4 cat5 and 1 aux out. First 3 cat5 ports are for each axis, the last cat5 port is for the E-stop, and the "Serial 1" port is for future use.
The “Serial 1” port is currently not in use, but I might end up using it for turning my power supplies on and off from EMC2, as well as for additional inputs such as a handheld controller, spindle output, and/or DRO.
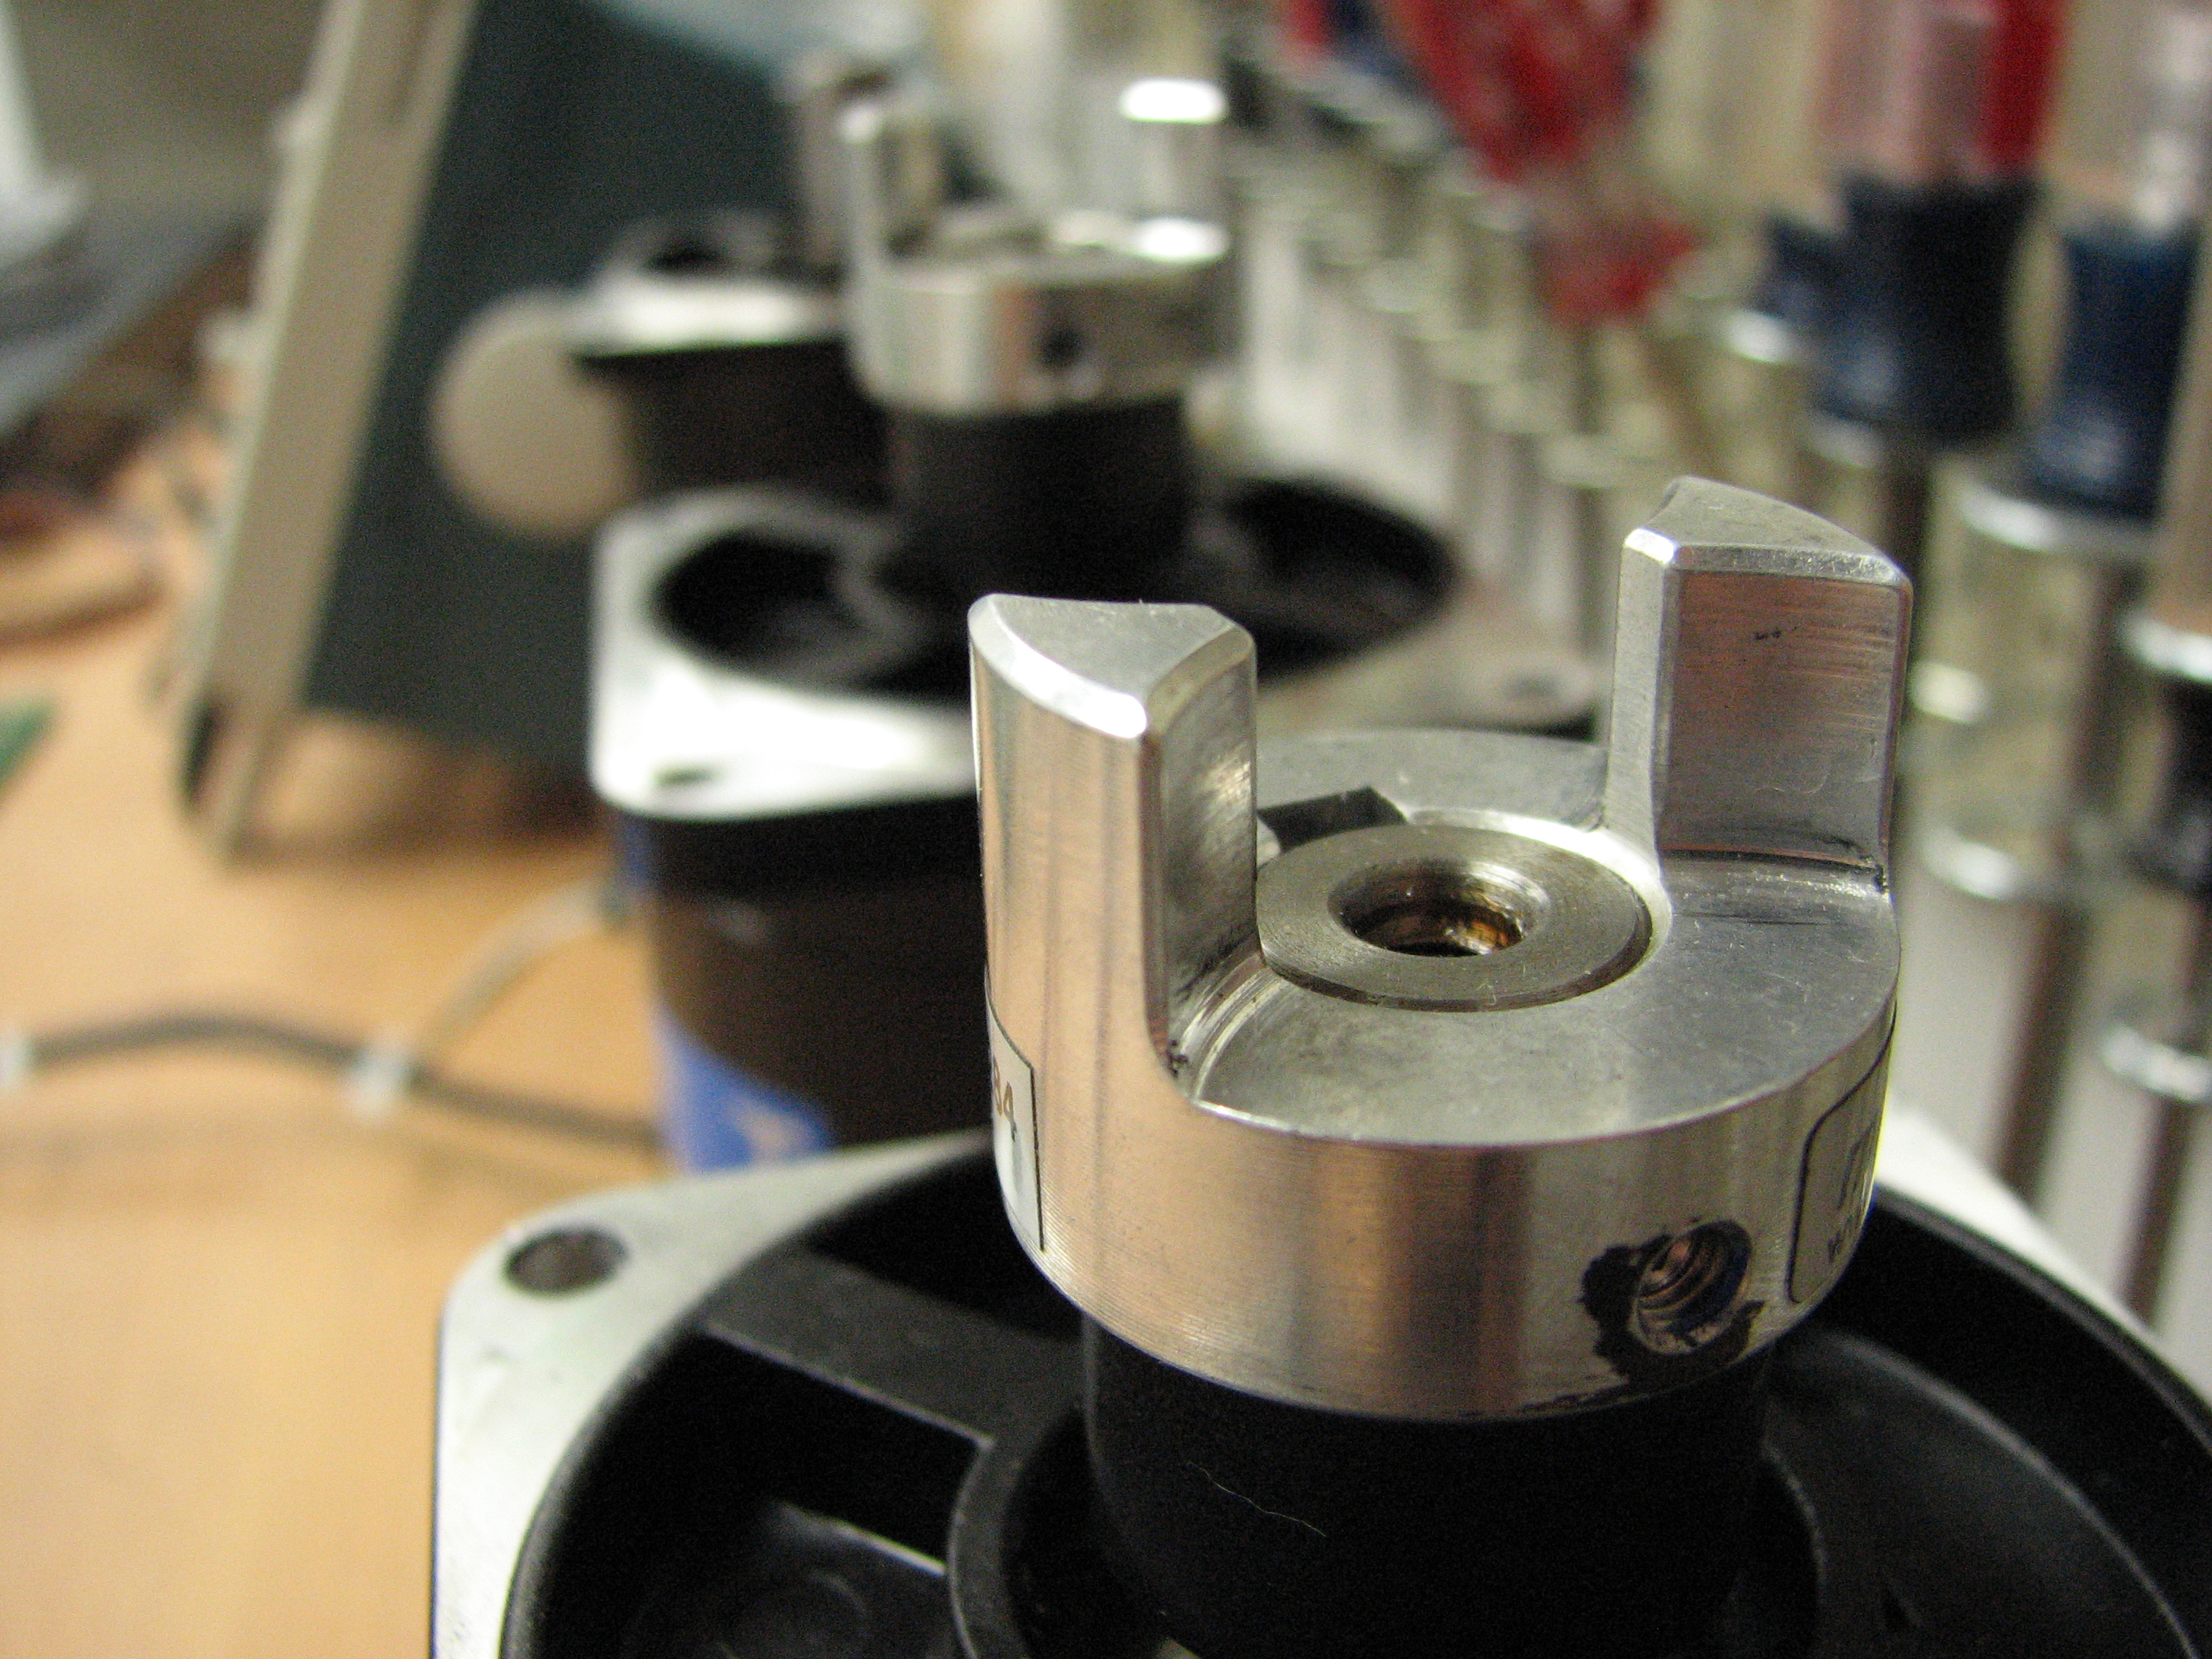
Servos and Controllers
I have 3 servo assemblies ready to go, although I am unsure if I will use one of these heavy-duty servos for my z-axis. I have done some additional calibration of PID loops, and I still need to work on software backlash compensation.

Servos for each axis attached to speed controllers. The controllers are Victor 883's, really not the tool for the job, but they work well enough for my needs.
I will post additional information and CAD drawings when I get more work done on the physical design. I have some rough CAD sketches, but they are dimensionless at the moment.
Ethan is a computer engineer and open source hardware/software developer from Michigan. He enjoys AVR and linux development, photography, mountain biking, and drinking significant amounts of home-roasted coffee. Find out more at ethanzonca.com.
This is very cool man! it is possible to use RC ESC sensored and brushless motor with hall sensor and magnetic encoder??
It should work, as long as your encoder has logic-level outputs!
Are you reading the encoder through parallel port? what the max rpm?
Yup! The max RPM will really depend on your port, my guess is that USB< =>Parallel ports won’t have great response time. I never had any issues though.