Table of Contents
Quick-Start
Master Setup
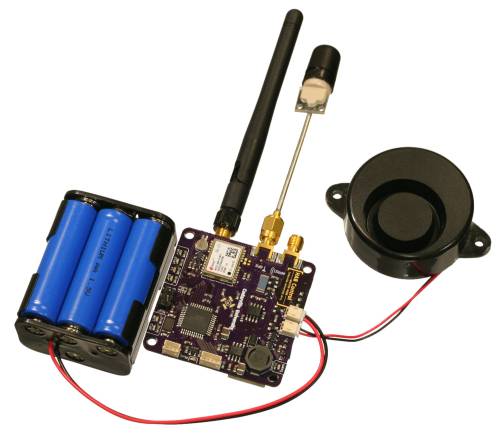
Plug the buzzer, GPS antenna, APRS antenna, and an SD card into the master module. Plug an XBee into the bottom of the motherboard if you plan on using slave modules.
Slave Setup
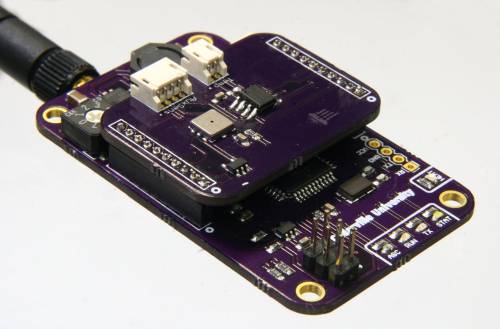
Plug all desired slave daughterboards into slave motherboards. Make sure each slave motherboard has an XBee attached.
System Powerup
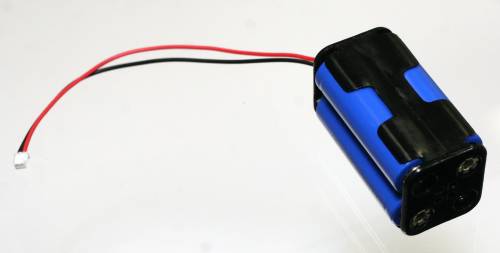
Connect battery packs to each slave module. Wait for the blue and amber LEDs to flash continuously. The blue LED will flash more rapidly than the amber one. Once all slave boards are powered, turn on the cameras by pressing the on/off button.
Next, power on the master module by attaching its battery pack. The master module will initialize and the LED indicator will spin rapidly. After a few seconds, the central LED indicator will display the number of nodes detected. If the master does not detect all slaves, power-cycle the master module.
Desktop App Setup
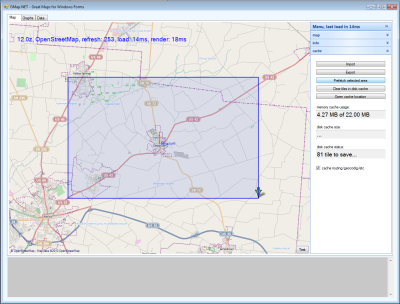
First, turn on the radio and plug it into the serial port. Then run the the executable for the application and select the appropriate COM port to read from. Also change the default APRS callsign to your own. As transmissions are received you should see them appear in the message log at the bottom of the application. To start placing markers on the map and saving data click on the Collect Data checkbox.
It is also suggested to cache map data for offline use. To do this, go to the “cache” panel of the sidebar, select an area of the map using ALT+left click drag, and then click the “Prefetch selected area” button. Be aware that caching can take a long time if a large area is selected. To save time, it is recommended to cache the starting area and the predicted landing area fully and then cache a few levels of zoom for the predicted route.
Troubleshooting
If you encounter issues during system setup, please refer to our OpenTrack Troubleshooting section.


